


In this tutorial First, we will discuss what a meeting is, How can we schedule it in Outlook. A meeting can be defined as a mass of two or more people have a common motive. All the people present in a meeting can share their ideas and exchange information, to carry out the actions to achieve their goal. This tutorial helps those people who are looking for the steps to Schedule a Meeting in MS Outlook.
Importance of Meeting – A good meeting helps to build up a spirit towards the project, improve ideas, enhance your thinking power, etc.; meeting also helps to growth to career.
How to Schedule Meeting Using Microsoft Outlook?
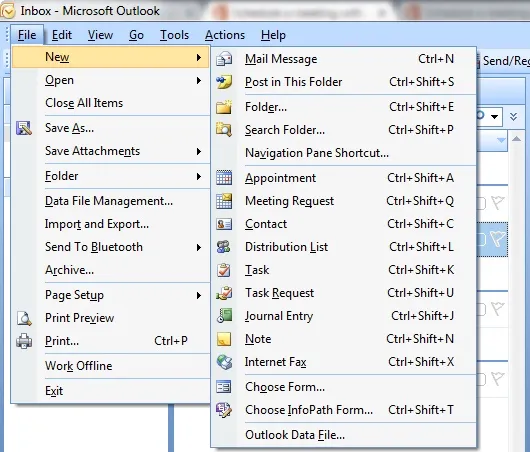
Click on the left uppermost menu File, point your cursor to New option, and then click on the Meeting Request. A window will be opened on your system.
TIP: You can also use the shortcut keys CTRL+SHIFT+Q.

Select the Name of Attendees
In that window, in the To box, type the address of recipients, you want to send the invitation of the meeting.
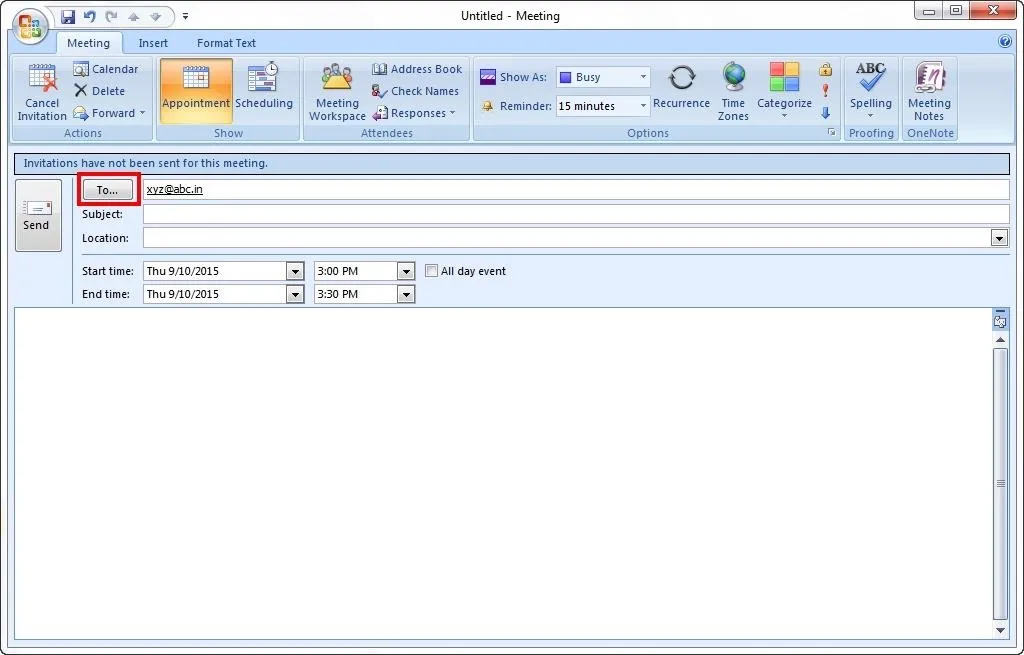
Type the Subject
In the Subject box, type the title or subject of the meeting
Specify Location
In the Location box, type the location of the meeting.
Specify the Timing
In the lists Start time and End time with the help of dropdown menu. Similarly, select the timings of start and end of the meeting. If the meeting is going to hold for the whole day, mark the checkbox All day event

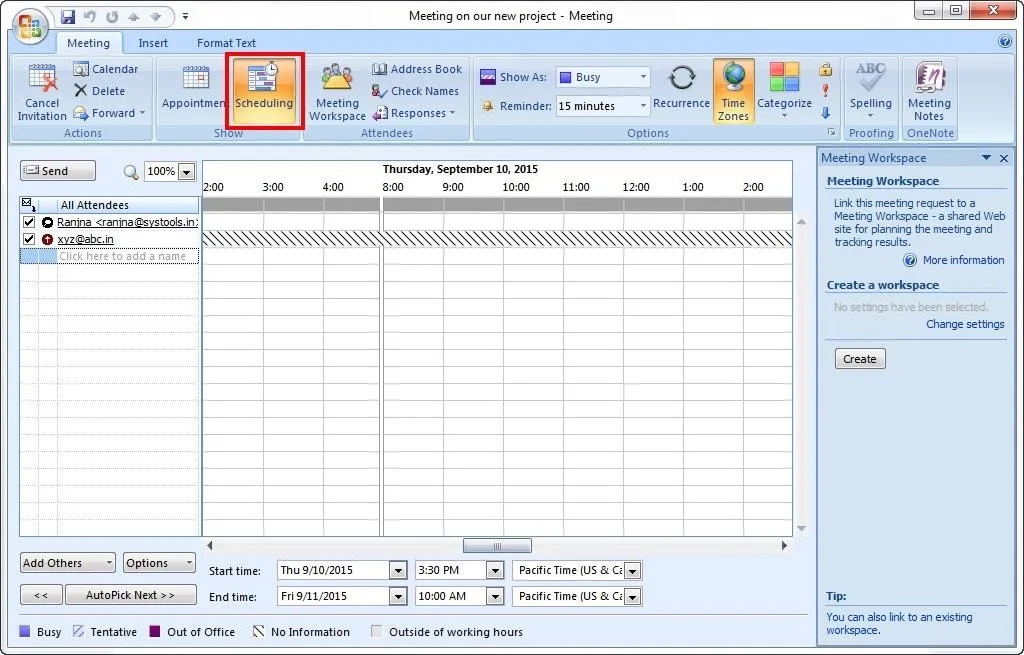
Scheduling Assistant
Go to the Show group in the Meeting tab, and click Scheduling Assistant if you find the best time for your meeting.
(Note: Scheduling assistant helps well if every person going to attend the meeting has his or her updated Outlook Calendars.)
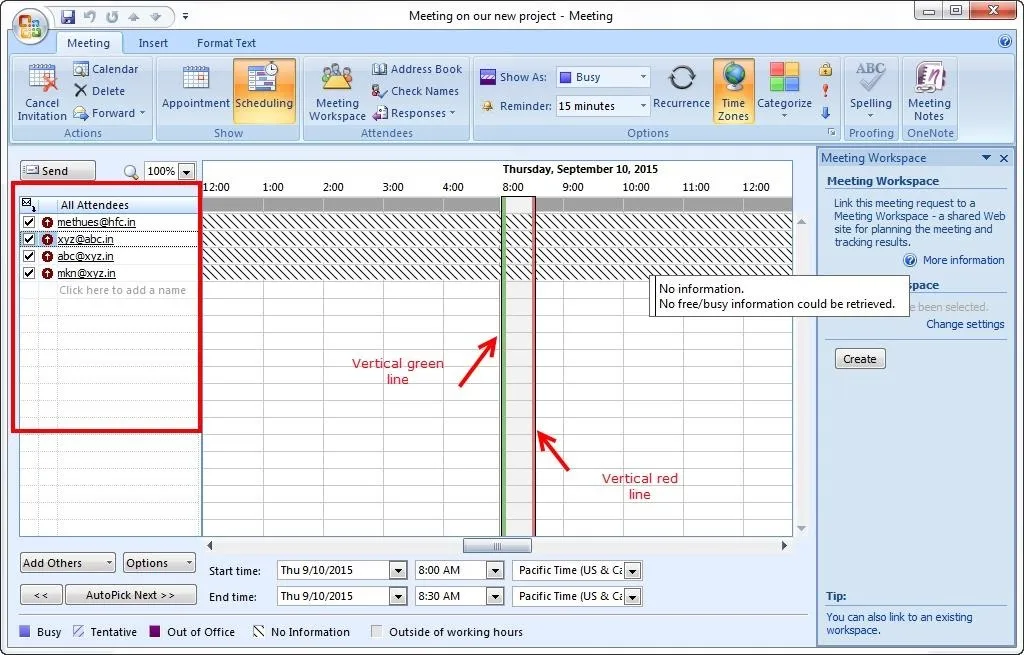
Alternate Way Invite the Attendees
You can also invite the people by entering their emails or name in All Attendees table in the leftmost. That will also help you to check the Outlook Calendars of the recipients; displayed next to their name or email ids.
The vertical green line and red line represent the start time and end time of the meeting.
Customize the Meetings
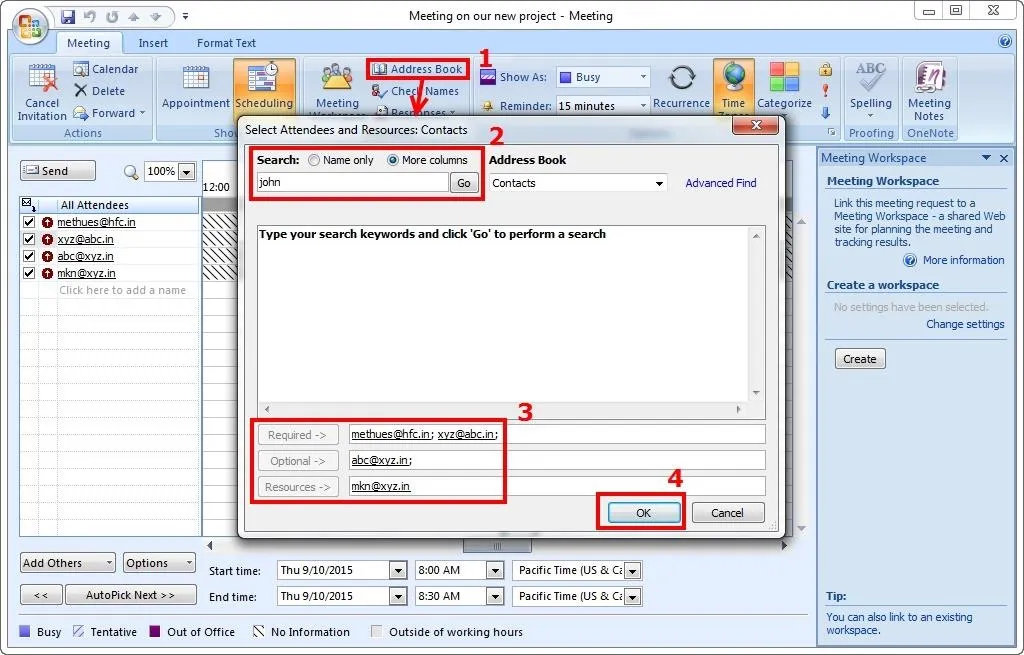
Click the Address Book option in the Meeting tab, a dialogue box will be opened. Here you can search people for an invitation of the meeting by typing their name in the Search box. You can also type the address of people in the following options- Required, Optional and Location.
The attendees of Required and Optional box appear in the To box in Meeting tab. Resources attendees appear in the Location box. Now click OK.
Now you will get back to the meeting tab.
At Last, Describe the Aim of Meeting
Finally, you must write the description about the meeting into space as highlighted in the given screenshot and click send.
Conclusion: The above article describes you to schedule a meeting through MS Outlook. In addition, some screenshots are available so that you can easily understand it.


Comments
Be the first, drop a comment!